By using a custom domain, you can change ugly looking username.github.io URL into your own yourdomain.com URL. Learn how to add a custom domain to github pages. You can also use this method for Jekyll blogs.
Why should we use a custom domain?
Having a third-party domain like username.github.io is fine. But having a unique domain name adds credibility to your product or service. It is also important for SEO. Search engines always a domain name rather a free subdomain obtained from a third-party website. So buy a domain name, it doesn’t cost much and it can help you build a brand in the long run.
- Why should we use a custom domain?
- Prerequisites
- Step 1: Adding CNAME file to the gh-pages branch.
- Step 2: Adding A record in the DNS Zone Records
- Step 3: Waiting!
I own 12 domains by the time of writing this article. If you have a good domain name in hand, you can always sell it to somebody who wants it. Maybe you can recover more than what you have spent on it.
Adding a custom domain to a GitHub hosted website is fairly easy . I will explain in simple steps, how to add a custom domain name to Github Pages website.
You may have a website hosted on Github Pages which has a URL that looks similar to http://sharu725.github.io/index.html. But what you want is something like http://webjeda.com. So how perform this change?
Prerequisites
A website hosted on Github Pages
Creating a website or uploading a pre-built website to github pages has become very easy after GIthub released drag and drop upload option to its repositories.
If you do not have a website yet, then refer to my post on How to create a website and host it on github pages to learn how you can create a simple website on Github Pages.
A domain bought from any registrar
You have to purchase a domain from any registrar like GoDaddy, NamesCheap etc. It would cost you around $10 a year by the time this article being written.
Choose a short, easy-to-remember domain which may not have a number in it. A unique name is a good candidate for better ranking.
It is a good idea to stay away from dictionary words because almost all of them are either taken or hard to rank in search engines. Once you have purchased a domain name, go on to the next steps.
I have a website to which I want to configure custom domain using GitHub. It is accessible through this link. Keep this test repository open because I will be discussing other aspects of the repository.
The website looks like this
<html>
  <title>
    First website
  </title>

  <body>
    <h1>This is my first github page</h1>
  </body>

  <style>
    body {
      background-color:green;
      color:#fff;
      text-align:center;
    }
  </style>

</html>
This is a test website that has nothing but a heading and background color. Since I thought of making this tutorial as simple as possible, I have kept the website to a bare minimum.
I own truejewels.in. I will be using this domain for the test website whose current URL is http://redgadget.github.io/test/. I have already configured custom domain which you can access using this link: truejewels.in
Let’s see how I did it.
Step 1: Adding CNAME file to the gh-pages branch.
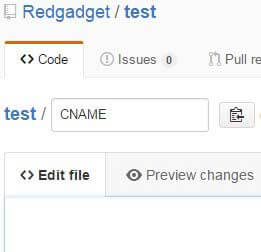
Go to the repository where you have hosted your website and click on New File. You will see a blank space where you can type in anything. Name the file as CNAME without any extension.
Here is my repository for reference: sample Repository
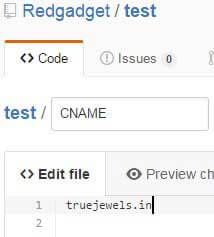
Now, inside the CNAME file write your domain name you want to use(that you already own). I have written truejewls.in because that is what I will be using. Commit your file to the repository. Make sure you are still in the gh-pages branch while hitting commit.
Step 2: Adding A record in the DNS Zone Records
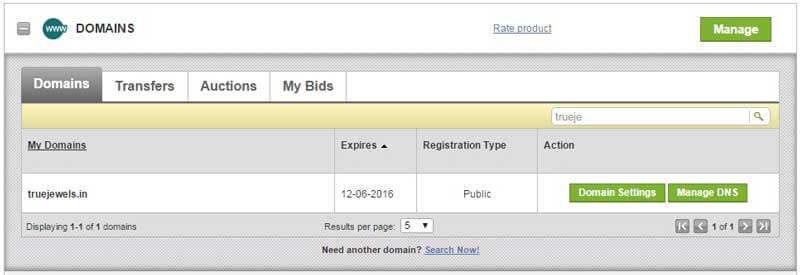
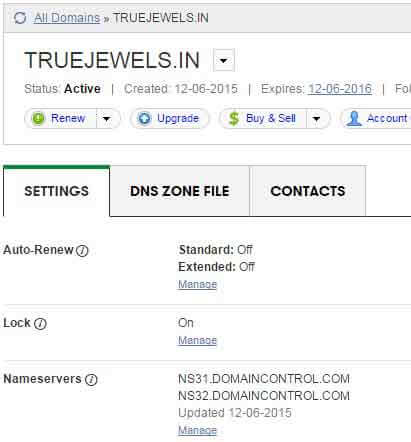
Login to the website where you purchased your domain name (Domain Name Registrar). Mine is GoDaddy, but I think the procedure is similar to other registrars as well.
Go to your domain and click on something similar to Manage Domain
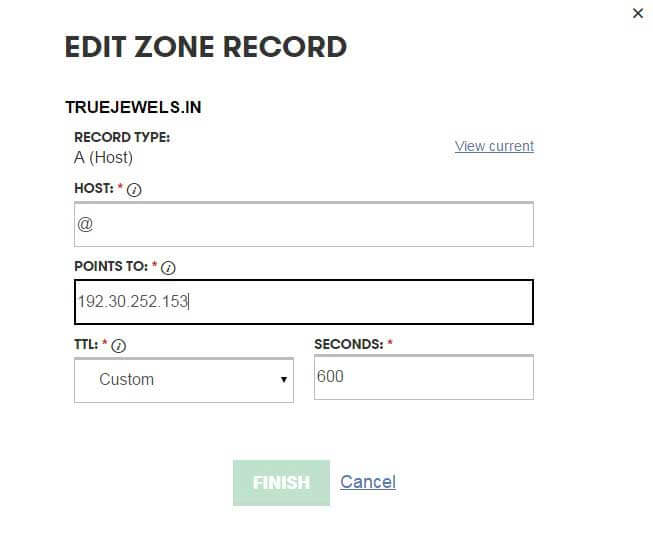
Now, go to DNS Zone File option. This is where all your records reside. Click on Add Record and add an A record with the following configuration
Host: @
Points to: 192.30.252.153 or 192.30.252.154
These IPs belong to Github using which your website will be served on your domain name. They will not change anytime soon (at least that’s what I believe). If that is the case then many websites hosted using Github Pages will go down all of a sudden.
You can find these IPs here. You can use any or both of them . I guess there are two IPs for redundancy. For 100% availability, use both. In order to use both IPs, you have to add another A record with the second IP address.
Click on Finish and Save.
Step 3: Waiting!
And that’s about it. You have successfully set up a custom domain for a github website. But do not rush. It will take a while to propagate.
Propagation can take a long time and it can be at different speeds in different geo-locations. So try using a proxy site to see if it has propagated in different countries. Try servers from different countries.
A better option is to grab a cup of coffee. Once you are done, hit the URL.
If your website has external css and js files, then watch out for the links you have used in the head tag. Make sure it links to proper files.
Here is a video demonstration
Let me know if you were successful in using a custom domain name. Put your link in the comment section.
Thanks for reading!


