
Customizing Google Forms is important for someone who trusts Google but doesn’t like their branding at the bottom of the forms. Google offers two ways of using their form. One is embedding the form on our website and the second one is redirecting users to the form page.
- Do not remove this line (it will not be displayed)
Both the methods are not that great because you have to choose the template Google provides you and you have to bear the Google branding at the bottom.
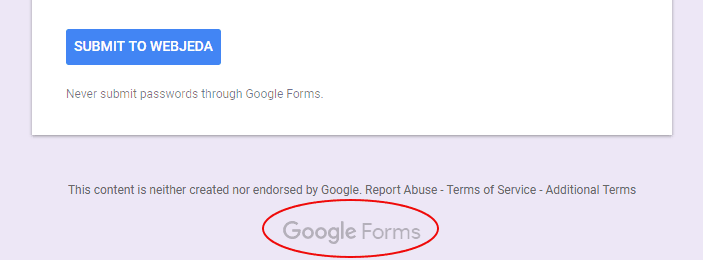
This is what I’m talking about. Many of us may not bother about the branding. A real headache is when you embed the form on your website, it may display its own scrollbar and may look totally different from your website’s color scheme.
One of my clients asked me whether it is possible to insert google form in their contact page without the google branding on it. I said it isn’t possible. At that time I did not know that we can not only hide the branding, we can completely transform the Google form.
We will be creating 2 forms here.
-
A Google Form.
-
A form in our website.
We will set it up so that when a user enters the form inputs in our website, the input data directly goes into the main Google Form. This way, we can have an auto-generated Google spreadsheet with all the entries in it. We will also setup an email notification that will be sent to any of our email/emails(doesn’t have to be gmail) on every new form entry.
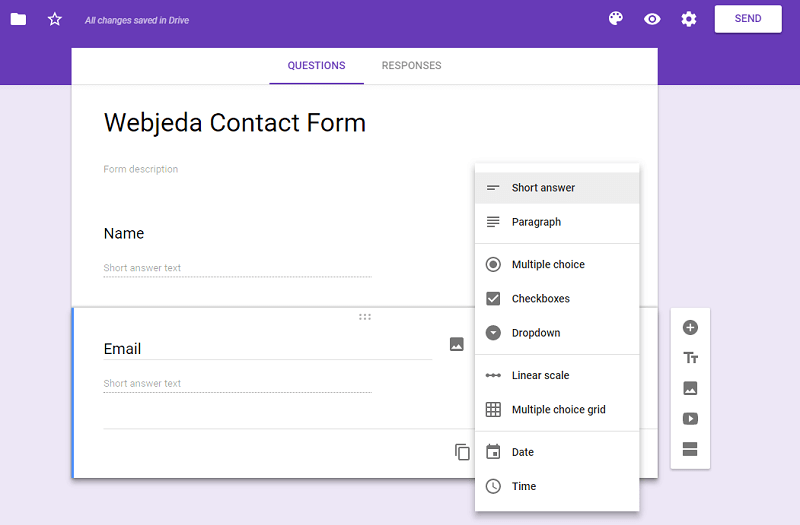
Create a Google form
Go to Google Forms and create a form with values Name and Email. I’m keeping it simple for this tutorial. Once you crete the form you should see an eye icon at the top. That is actually a preview of the form. Click on the eye and keep this tab open because we will need this soon.
Update
Google pre-filled forms can be easier to setup. Check Google pre-filled forms
Customize Google Form
We are going to scrape this Google form for certain values and implement it in our own form. So the first step is to create a form.
You can have any field in the contact form but I will be using only name and email. Once you create the form, click on Send and it will show you how you can implement the form.
Go to the tab where you have the original Google form that was opened by clicking on the eye icon. You will have to inspect the code. It is easier if you’re using a Chrome browser. Now, inspect(Ctrl+Shift+i) each and every field in the form and find name attribute. Copy whatever the value present in it. It will be like entry.742532386.
Find <form> tag and copy the URL found in action attribute.
Create a similar form
Create your own barebone form with the same fields as in the Google form. For this example, a sample form will look like this.
<form class="form" action="">

          <label>Name</label>
          <input name="name" type="text" />

          <label>Email</label>
          <input name="email" type="email" required />

          <input type="submit" value="Send" />

    </form>
Change Action and Name values
Now in your barebone form, change the action to whatever the action you find in the Google form inspection. It will look something like this https://docs.google.com/forms/d/e/1FAIpQLSdqGYth5-G2cP8SILJwjOcJ38vit-Rv8E9SXmtnJUu4ifMcGw/formResponse.
Copy this value and paste it in your form’s action. Also, copy respective name values and put it in appropriate fields. The completed form should look like this.
<form class="form" action="https://docs.google.com/forms/d/e/1AFIpQLSdqYGth5-G2cP8SILJwjOcJ38vit-Rv8E9SXmtnJUu4ifMcGw/formResponse">

          <label>Name</label>
          <input name="entry.742532386" type="text" />

          <label>Email</label>
          <input name="entry.1558941179" type="email" required />


          <input type="submit" value="Send" />

    </form>
Multiple Choice, Options, selects radio inputs
For form elements like options and select, the google form will have a hidden <input> tag at the end of the form. Sometimes you will have to select an option in the form to see that hidden <input> tag. Copy the name value from that tag to all the options and selects.
Publish it on any website
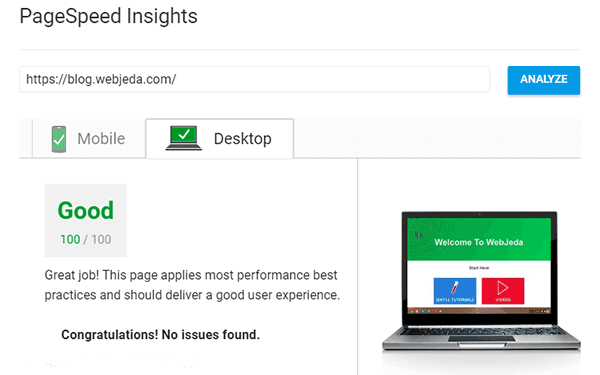
The good thing about the form is that it not only works but it works on static websites as well. This is a great way to insert Google forms in Jekyll websites and blogs hosted on Github Pages.
Try not to spam.
Here is a working form that you can check. I have restricted the entries to 18 characters so as to avoid long spams.
Style this form however you want to but I’m keeping it simple without any styles applied. You can check the entries here.
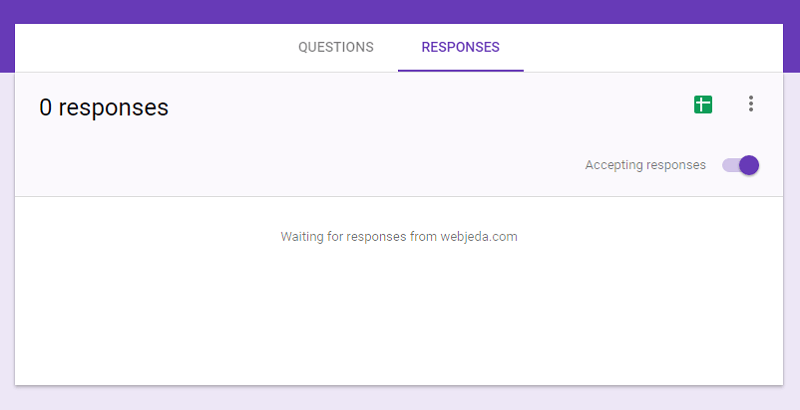
Get responses in a Google SpreadSheet
This is a cool feature where you can get the entries in a spreadsheet! In the form, click on Responses tab. You should be able to see all the responses right there. But you will see a spreadsheet icon at the top right corner. Click on it and it will ask you whether you’d like to save responses in a new spreadsheet. Click Create
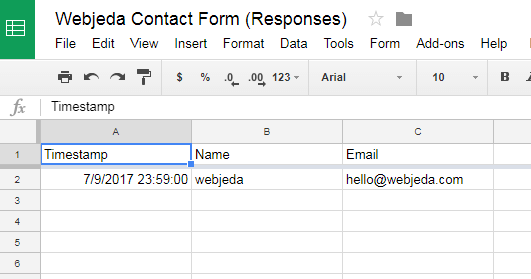
Once you create it, you should see a spreadsheet created with tabs for Name and Email.
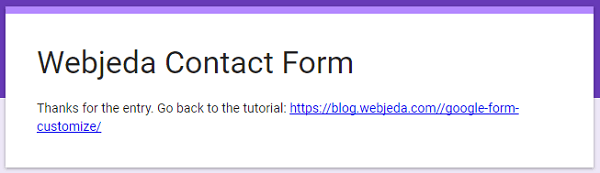
Google Form Redirection
After form submission, you will be redirected to a Google page where it says response is received. You can edit the message and provide a link back to the website. This custom message and link will be shown to the users after they submit the form.
But if you want to redirect the users to a custom URL - say a /thank-you/ page - then use the code below and change the parameters wherever it is necessary.
<script type="text/javascript">var submitted=false;</script>
<iframe name="hidden_iframe" id="hidden_iframe" style="display:none;" onload="if(submitted)  {window.location='THE REDIRECT LINK HERE';}"></iframe>

    <form action="FORMACTION CODE HERE" method="post" target="hidden_iframe"
    onsubmit="submitted=true;">
          <label>Name</label>
          <input name="ENTRY HERE" type="text" placeholder="Name" />
          <br>
          <label>Email</label>
          <input name="ENTRY HERE" type="email" placeholder="Email"/>
          <br>
          <input type="submit" value="Send" />

    </form>
Source: StackOverflow
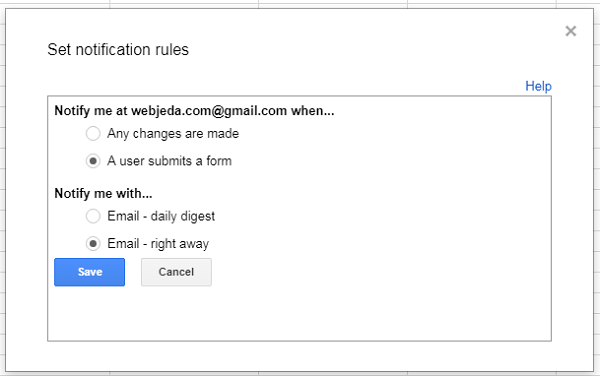
Google Form Notification
Another cool feature is to get notifications to your email upon every entry. You can activate this feature in the spreadsheet by going to Tools » Notification Rules…. Set rules on when to receive notifications and you’re good to go.
Check if the Google Form is working
Check if the responses are recorded in the form response or the spreadsheet. After the submission, if the form redirects you to the Google Form for missing entries, then check if the name values are entered properly.
Improvements like File Uploads
Google Forms now has file upload option in their native forms. I’m trying to implement it to a custom form but so far no luck. It is very complicated. There are methods to do it using app scripts which you can look out for.
Conclusion
Though there are other free services like Formspree, SimpleForm etc, I trust Google with my data. This is because I’m aware that Google uses it for targeting ads. But I don’t know what other services use the data for. While using SimpleForm, I used to get a lot of spam from digital marketers. Obviously, the guy who owns SimpleForm is selling the email addresses to someone.
I don’t mind it because I’m using the service for free. But I’m concerned about the entries by my users. I’m pretty sure that their emails will also be collected and sold. I don’t want my users’ inboxes to be cluttered with spam. At least with Google Forms, I did not face that issue.
Try this and let me know - in the comment section - if it has worked for you. Any suggestions to improve the article is appreciated.